I recently was lucky enough to attend a makeup masterclass hosted by Ariel Tejada!
Ariel is a celebrity makeup artist and best known for the flawless makeup he creates on Kylie Jenner and the rest of the Kardashians
His masterclass was held in Manchester and hosted by the Pout Patrol. The cost was £400 for the 3 hour masterclass and a makeup filled goody bag!
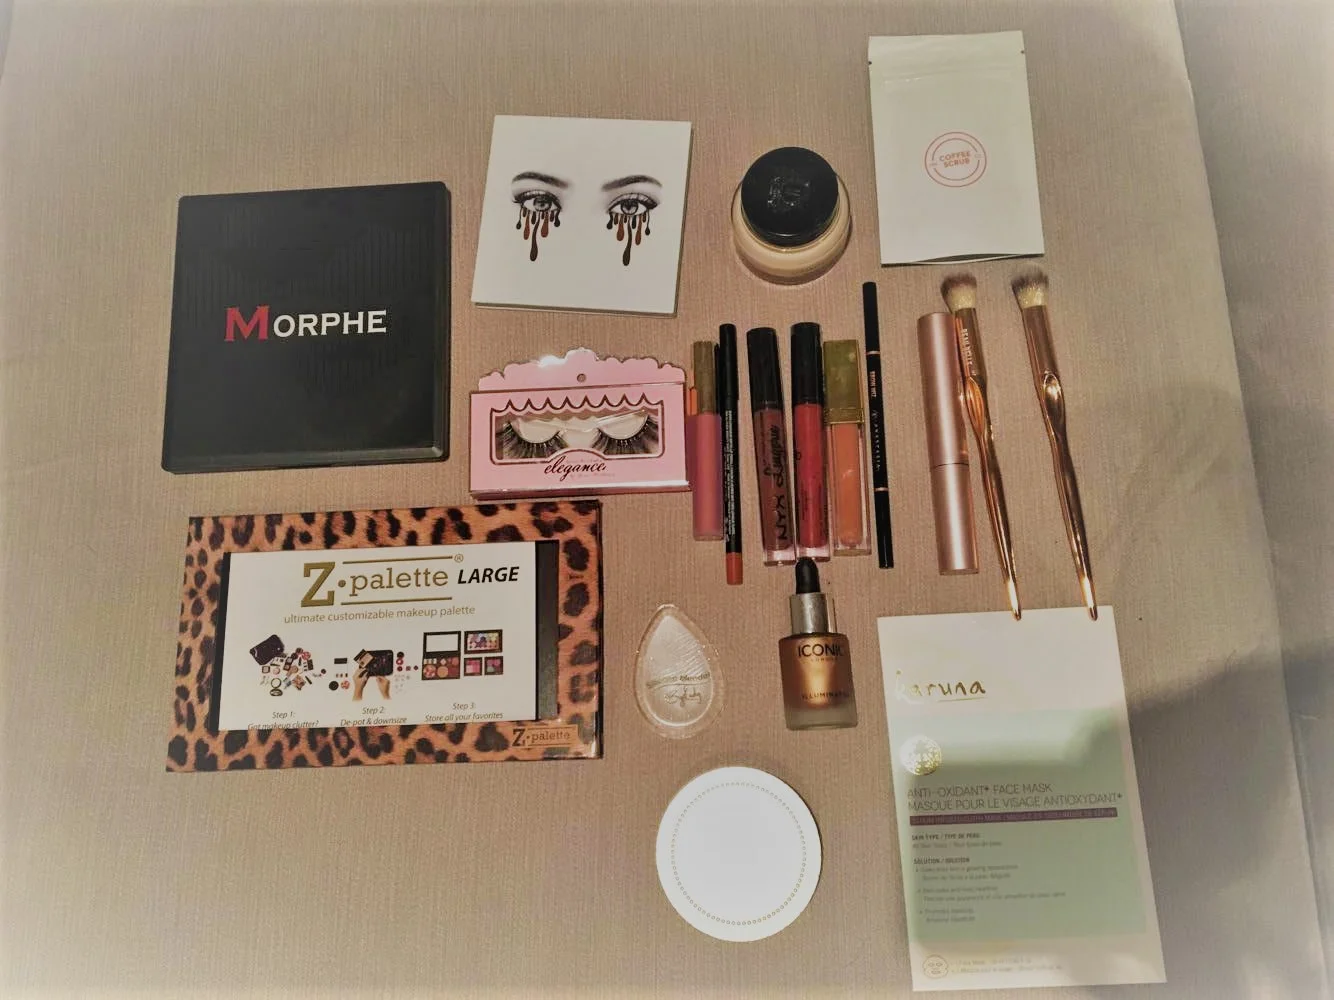
The goody bag contents were:
A Z Palette - value £17.50
Iconic London liquid illuminator - value £29.99
By Kady silicone blender - value £14.99
Too Faced chocolate soleil - value £25
Bobbi Brown vitamin enriched face base - value £42
Karuna face mask - value approx. £6
Morphe blush palette - value £17.50
Huda beauty lip contour liner - value £16
Anastasia Beverly Hills brow wiz - value £15.50
Gerard cosmetics matte liquid lipstick - value £11
Gerard cosmetics lighted lip gloss - value £14
Elegance Lashes Mitchell lash - value £15.99
2 x Nyx Lip lingerie - value £7 each - £14
Too Faced better than sex mascara - value £19
2 x Beau Belle setting brushes - value £8.95 each - £17.90
The Coffee Scrub co. sample - value of full size product £8.50
Kylie Cosmetics bronze palette - value $42/£32
When booking the masterclass the goody bag was sold to us as having over a £400 value, I would estimate the value of the bag to have been around £315, comments from a few others at the masterclass were a little disappointed with the value of the goody bag, however I was still happy as I felt the value ofthe ticket price was worth it to see Ariel work!
Ariel started off the masterclass by telling us how excited he was to be here, and he promised not to hold back and teach us everything he knew! Ariel's model was Shelby Billingham and Ariel began by prepping Shelby's skin with a Karuna skincare mask, he really stressed the importance of skincare and skin prep to ensure a flawless makeup look.
After the mask, Ariel used the Kiehls ultra facial moisturiser and applied it with a flat foundation brush. He really took his time working the moisturiser into the skin, always using upward strokes to avoid dragging the skin down and also moisturised the neck, chest and shoulders - the only place he avoided using moisturiser was the brows.
Ariel then went on to brows. He stressed here the importance of spending time on brows, as he is used to working with celebrities, it is important the brows look just as amazing when zoomed in on paparazzi photos! Ariel emphasised to stick with the natural brow shape and to avoid overly drawn in, heavy looking brows. On Shelby, Ariel used the Anastasia Brow Wiz pencil in soft brown - he suggested always using a brow product one to two shades lighter than the natural brow colour to avoid the brow looking too heavy. Ariel suggested to never over fill the brows with product, and instead just apply product where you need it. For areas without much hair, Ariel changed product to a brow powder. Ariel spent around 10 minutes perfecting each brow before moving on. Once the brows were filled in, Ariel then carved out the brow using the cream RCMA foundation and used a shade close to Shelby's skin colour - Shinto 3.
Ariel then prepped the lips using Nurse Jamie lip balm, which he highly recommended.
Ariel then moved onto the skin. He started with the Iconic London liquid illuminator in shade original and applied it in the high points of the face using a brush and then his fingers. He stated he always used a liquid illuminator under foundation to create a glow from within look. Ariel also used the Nars orgasm illuminator on the apples of the cheeks.
The foundation Ariel used was the La Mer foundation, pricey but he highly recommended if you can afford it. This foundation has a light to medium coverage and creates a skin like finish. Ariel said he usually avoids full coverage foundations but when he does want a full coverage foundation, he would use RCMA. Ariel also put the foundation down the neck, chest and shoulders. Ariel spent time applying the foundation and really worked it into the skin, he then went over the foundation with a clean, damp beauty blender.
Ariel then used the same foundation with a blending brush and applied it over the eyes. He then set this with Laura Mercier translucent powder, he also went over the brows with the loose powder to set them.
Ariel then used the Persona Identity palette and selected golden and bronze shades and applied them over the eye lid. He then went onto the Kylie Peach palette and used the brown shade for a transition colour. A darker brown shadow was then selected and applied close to the crease. Ariel then used a clean brush to buff out the lines and blend the product. Ariel spent a long time blending to ensure a flawless look. Ariel then used the Tom Ford gold dust bronzer and pushed the product up into the brows and through the transition shade.
For the under eye, Ariel used the Nars creamy concealer and recommended using a shade one to two shades lighter than the skin colour. He applied the product in a triangle down to the bottom of the nose, and then blended over the product using a beauty blender. The concealer was also blended on top of the lip, centre of chin and the centre of forehead. Ariel also used the same concealer and with a small thin brush applied it down the centre of the nose, into the forehead and the brows and blended out. Ariel then went back to his foundation and applied this on the sides of nose to further lift the bridge. A beauty blender was then used again to blend over everything.
Ariel then went onto contour. He emphasised when contouring, you should ask your model to smile rather than suck their cheeks in, as the creates a much more natural looking contour. Ariel used Tom Ford shade and illuminate intensity number 1. He then applied the product lightly around the hairline and the jawline and blended into the rest of the face. Ariel also suggested to only contour when it is needed, for example if your model already has hollow cheeks, there is no need to contour there.
For the under eye area, Ariel used the YSL no. 2 loose powder and softly patted under the eye, down to the bottom of the nose. He then asked Shelby to smile and he patted the powder onto her cheeks, centre of forehead and down centre of nose and over the lip and chin and went over it all with a beauty blender. Ariel then selected the Bobbi Brown pale yellow powder and lightly powdered the rest of the skin, including the neck.
Ariel then moved back onto the lower lash line. He used the same bronze shade from the Persona palette and ran in under the lash line using a pencil brush. He then went back to the Tom Ford bronzer and ran it under the lash line.
Ariel then pressed loose powder onto a sponge and applied it under the cheek to the edge of mouth and applied the powder to the centre of the chin.
The Tom Ford bronzer was the used over the hairline, cheeks and jawline. Ariel then selected the Too Faced chocolate soleil and used a fluffy blendingbrush to apply down the sides of the nose and into the brows.
Kevin Aucoin J'adore blush was applied with a very gentle application on the apples of the cheeks. Following that, orgasm powder by Nars was applied over the cheeks and blended through the bottom lash line and through the crease. Ariel then used the Mac Maleficent powder mixed with Charlotte Tilbury powder under the eye using a flat foundation brush.
To highlight, Ariel used Tom Ford reflective guilt and applied it on the tops of cheeks, lightly over the forehead, tear duct of the eye and centre of chin. Ariel then used the Kylie salted caramel highlighter down centre of nose.
Ariel then dusted off the powder underneath the cheekbones towards the lip and blended over with the bronzer.
Going back to the eyes, Ariel used a soft brown liner in waterline and applied mascara.
For the lips, Ariel used stripdown by Mac followed by Mac Siss lipstick. The lip was finished off with a peach lipgloss followed by a high sheen lipgloss in the centre.
Ariel set the makeup with Pixie glow mist on the forehead and diamond mist by Natura Biss all over the face. Tom Ford glow mist was used over the chest and shoulders.
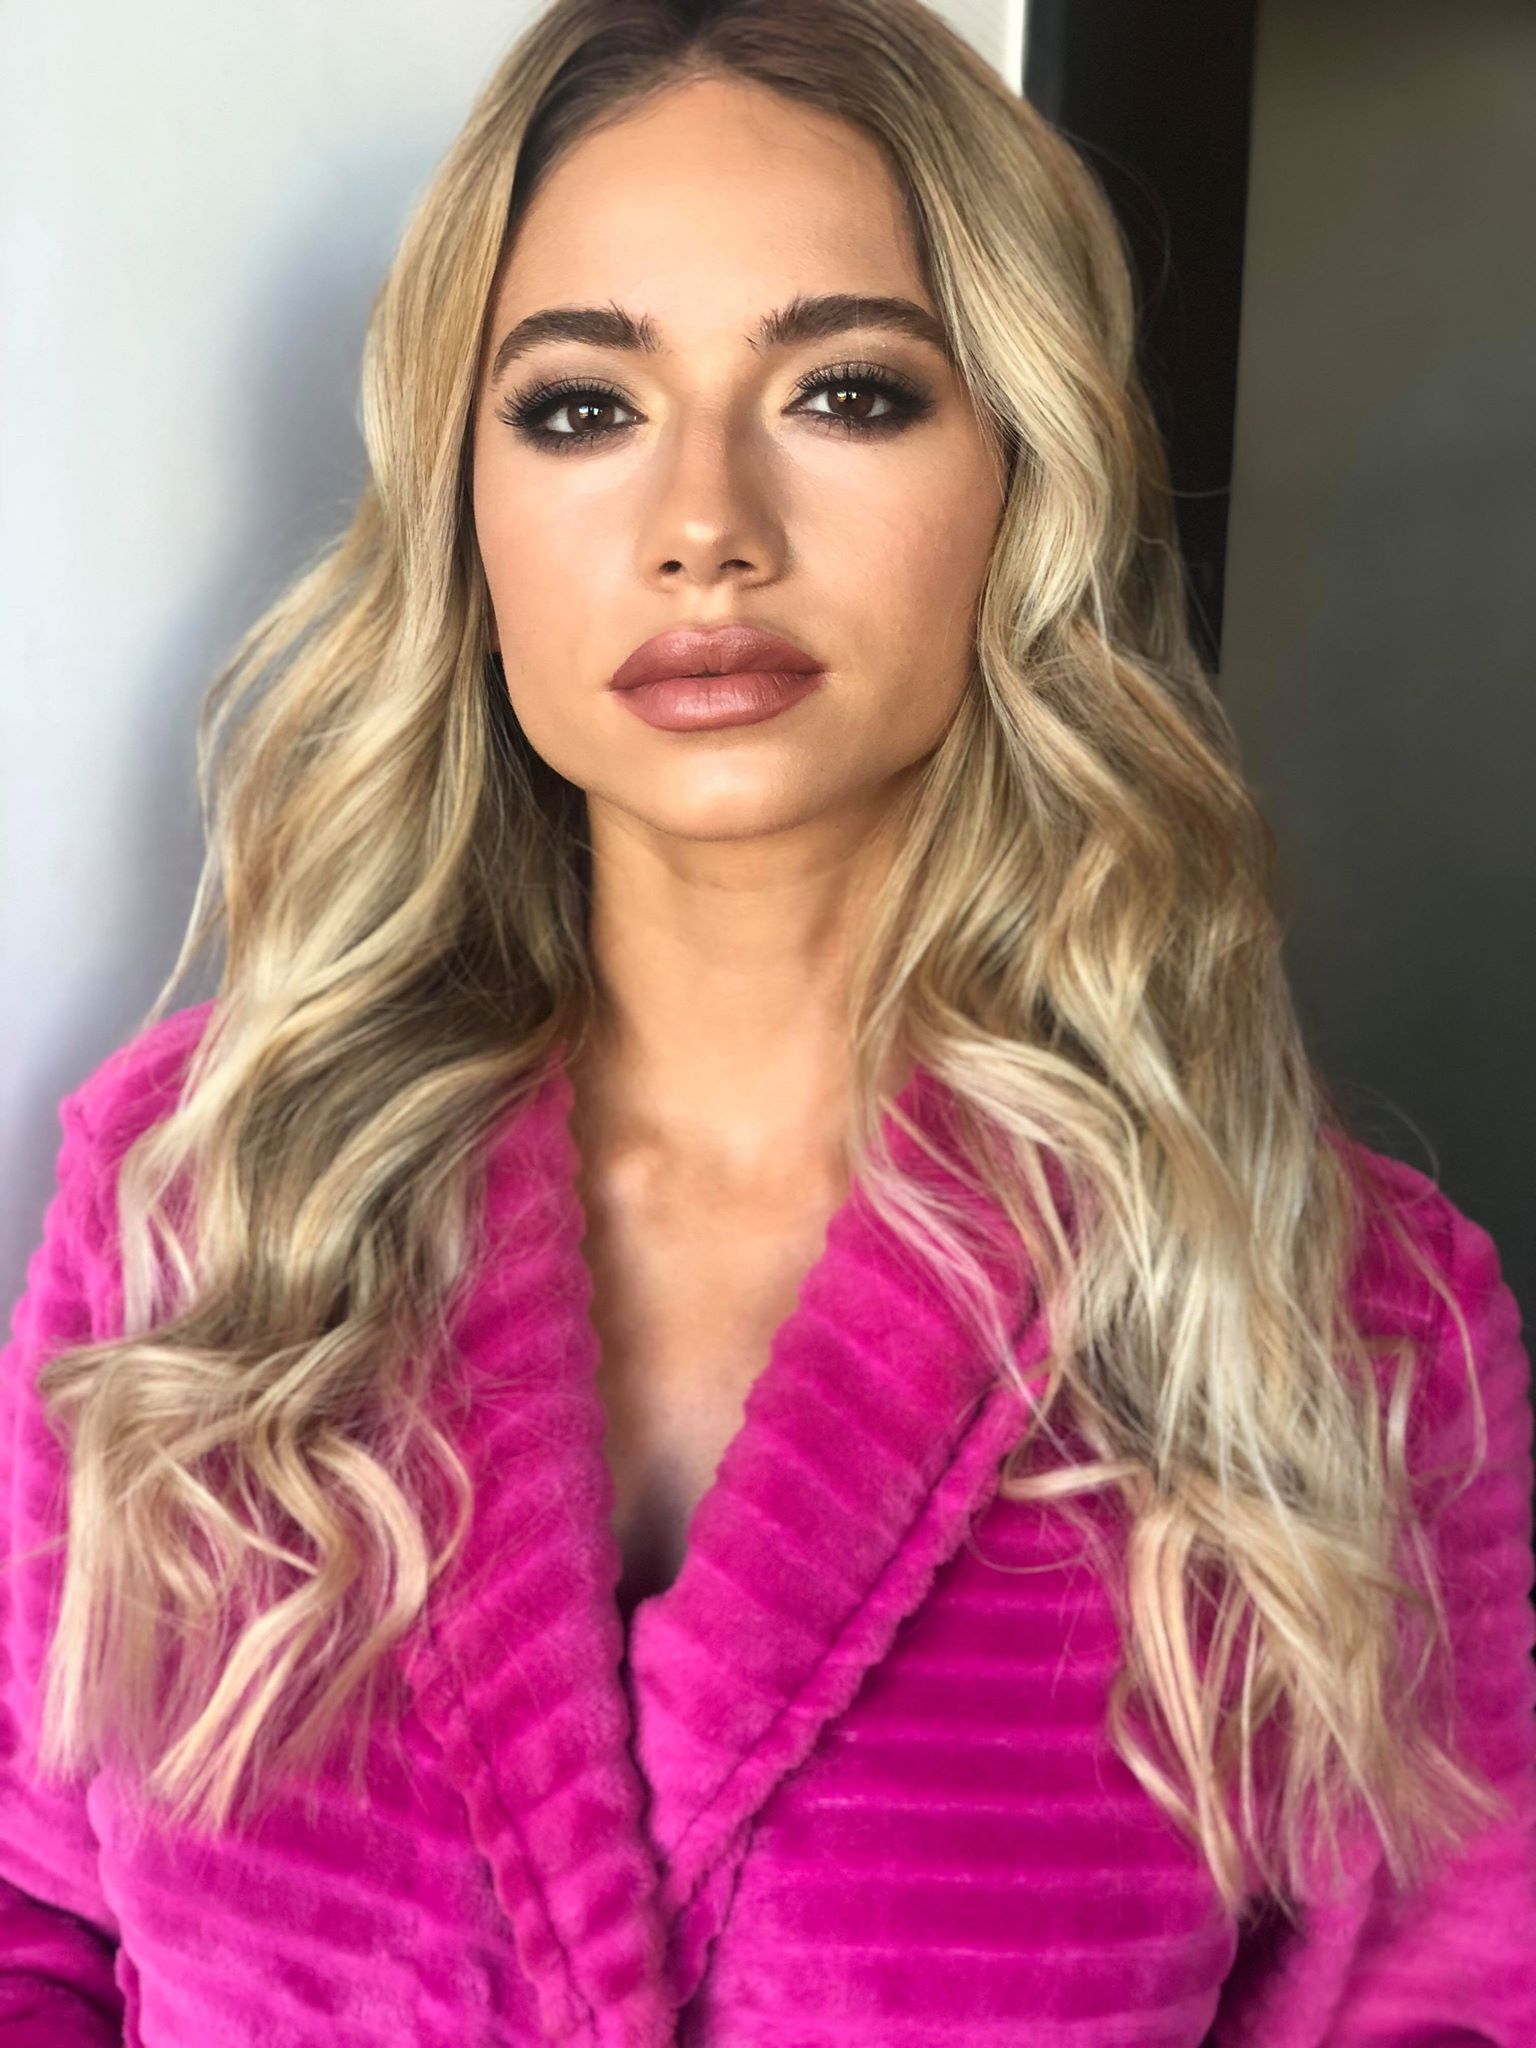
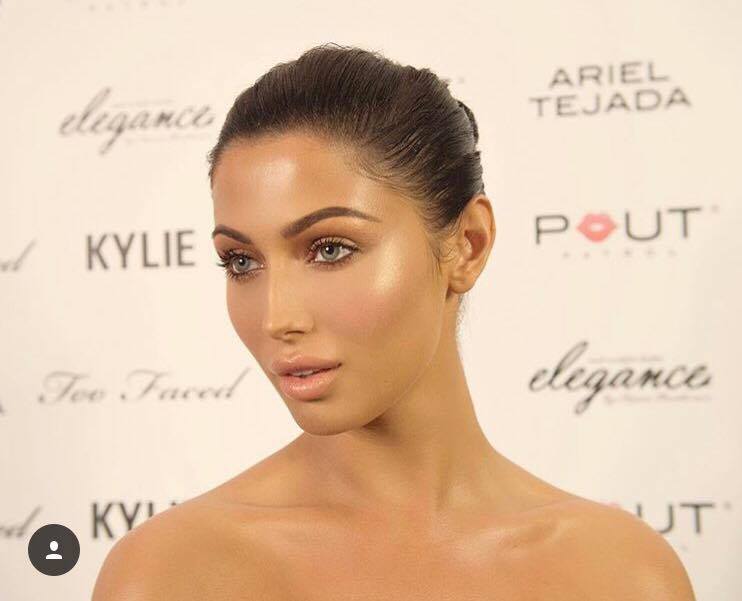
This completed Ariel's first look:
Ariel then went on to show how he would make the look more glam! He said often when working with the likes of Kylie Jenner, he would have time in the morning to get them ready but often later on in the day, he would have a maximum of half an hour to create a more glam look.
Ariel started by uding the YSL no. 2 loose powder to bake under the eyes. He then selected Mac esperesso and with a small tapered blending brush applied it into the crease to carve out the eye. Mac espresso and embark were used on lower lash line, focussing on the outer corner. Hollywood Calling from Sephora, a glitter brown, was then patted onto the lid. Ariel then dragged the product down under the eye using Mac brick, sadle and espresso. A black eye pencil was the applied into the water line and smudged into the lash line. Mac embark and a dark purple shadow were applied to the lower lash line and also ran the purple shadow through the crease.
Ariel went back to the Kylie Salted Caramel highlighter to highlight the brow bone and re-emphasised the highlight points on the face. The under eye powder was the brushed away and Ariel applied more Charlotte Tilbury powder and pressed it into the skin.
Bronzer was then used down the sides of nose and all over to warm up the skin.
For the lashes, Ariel used the Elegance lashes Mitchell lash. He then applied Nars Gina blush over cheeks and under the lash line.
To finish off the lips, Ariel used stripdown from Mac and Nars unlaced. He then added more mascara and finished the look with fixing spray.
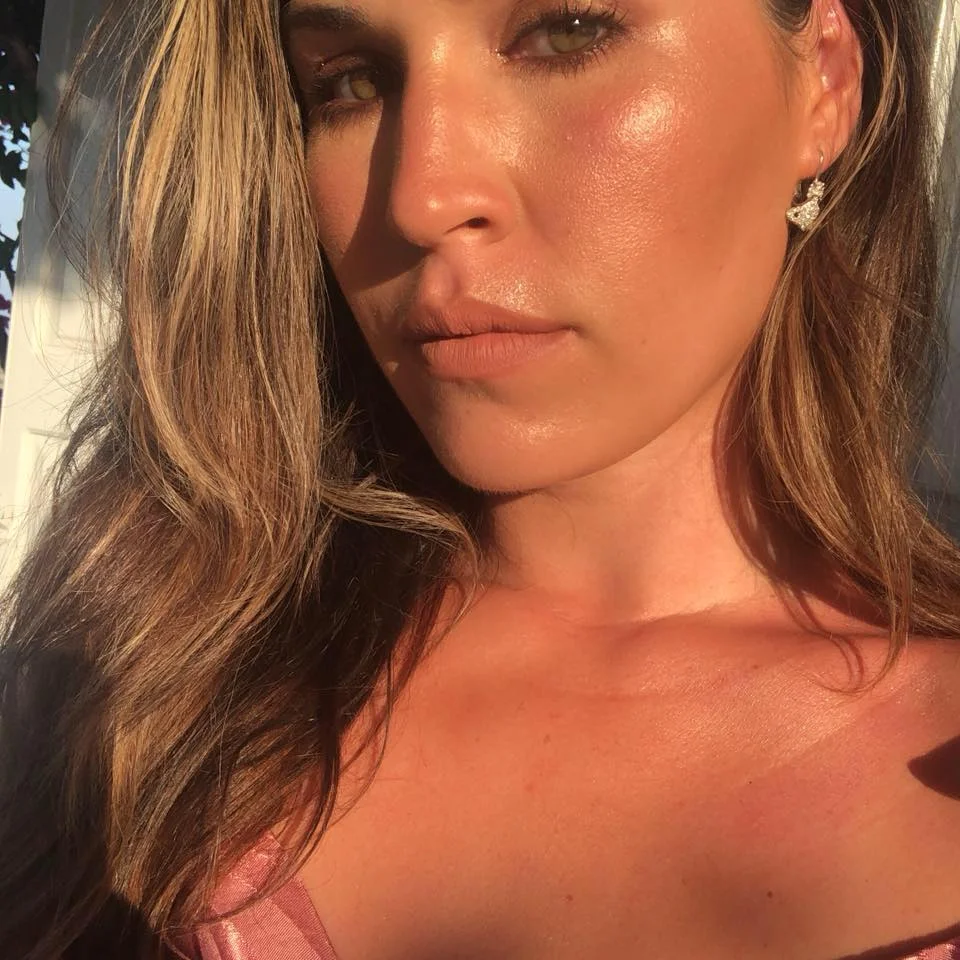
This is Ariel's finished glam look:

Thank you for reading! I hope it's provided you with an insight into how Ariel works, any questions just ask!
Charlotte xxx